14 11 2025
How to Assemble Your Snowdon Timber Decking Kit – Step-by-Step DIY Guide
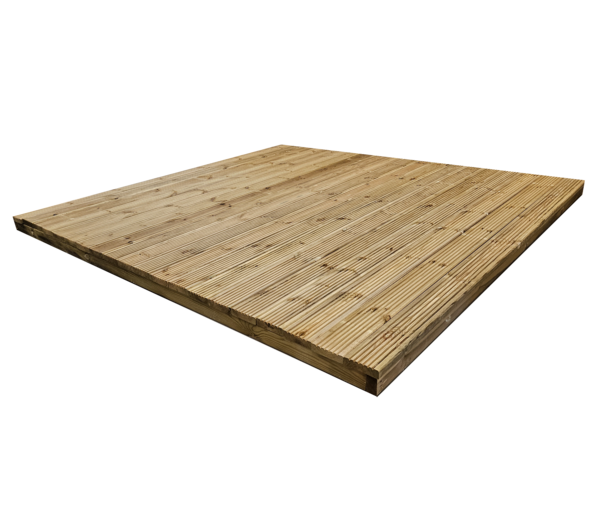
Transform your garden into a beautiful outdoor space with the Snowdon Timber Decking Kit.
Designed for easy assembly, this kit includes everything you need to build a sturdy, weather-resistant deck that’s perfect for relaxing or entertaining outdoors.
Follow this step-by-step guide to achieve a professional finish in just a few hours.
Kit Overview
Approximate finished size: 2400 × 2400 mm
Estimated build time: 1–2 hours (recommended for two people)
- Treated Decking Boards
- Treated CLS decking Joists
- Decking Screws
- Frame Screws
- Weed Control Membrane

All components are pre-cut and ready to assemble — making this a great project for both beginners and experienced DIYers.
Tools You'll Need
To assemble your decking kit, prepare the following tools:
- Drill or Screwdriver
- Tape Measure
- Safety Goggles
- Eye Protection
- Spirit Level

Step 1: Prepare the Ground
Choose a flat and stable area for your deck. Clear away any grass, stones, or debris so the surface is clean and even.
Lay out the weed control membrane supplied in your kit, cutting it to fit the full area. Overlap any joins by at least 100 mm and secure the edges with garden pegs, small timber offcuts, or stones.
This membrane will prevent weeds from growing through your deck while allowing water to drain naturally.
Finally, check the ground is level using a spirit level before moving on.
Step 2: Build the Frame
Lay out the treated joists to form a rectangular frame. Fix the corners using the frame screws provided.
Add the remaining joists inside the frame, spacing them evenly apart to provide a strong base for your decking boards.
Step 3: Check the Level and Secure
Measure diagonally across the frame to ensure it’s square. Tighten all screws securely.
If the ground is uneven, use small timber blocks or spacers beneath the joists to level the frame.
Step 4: Lay the Decking Boards
Position the decking boards across the frame, leaving a small gap between each one to allow for natural expansion and drainage.
This spacing helps protect the wood and keeps your decking looking great for years.
Step 5: Fix the Boards
Secure each board with decking screws — two screws per joist for best results.
Pre-drill the holes if needed to prevent splitting and to achieve a neat, secure finish.
Step 6: Finishing Touches
Once all boards are installed, double-check that everything is straight, level, and evenly spaced.
Sweep away any sawdust or debris — your new deck is now ready to enjoy!

Maintenance Tips
To keep your decking looking its best:
